How to Create a Facebook Business Manager (FBM)
The first thing you need to do is go to the Facebook Business Manager (FBM). Go to https://business.facebook.com/ site and your business page. If you haven't opened an account yet, open an account for your business.


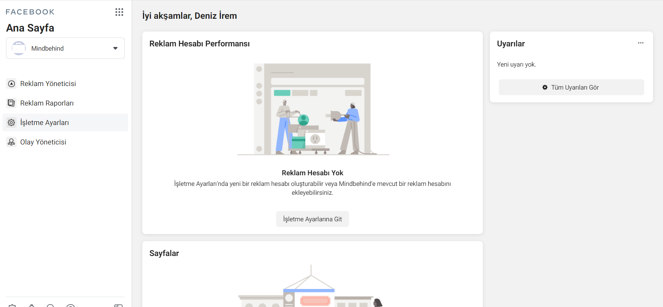
From the menu on the left, choose Business Settings.
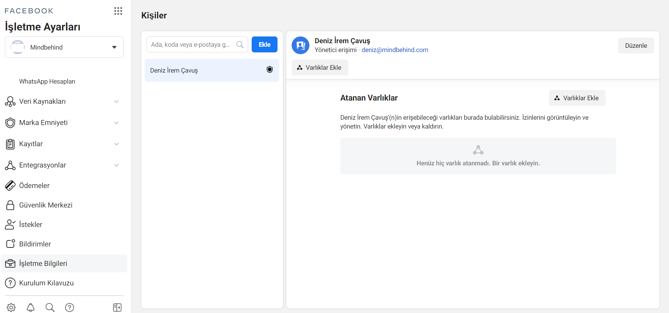
Under Business Settings, choose Business Information. You will need to enter information about your business in the form you see here.
Business Verification Status indicates whether your business has been verified. To get a WhatsApp Business API, you need to verify your business. If you haven't verified your account yet, here are the steps for verification:

- Click See Details.
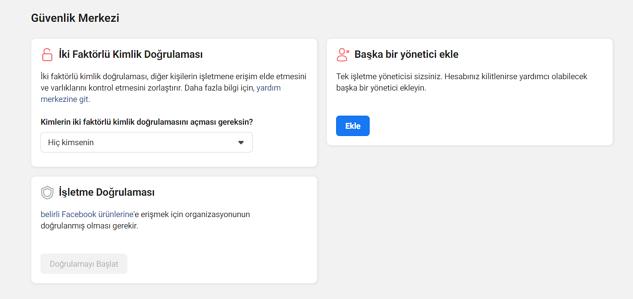
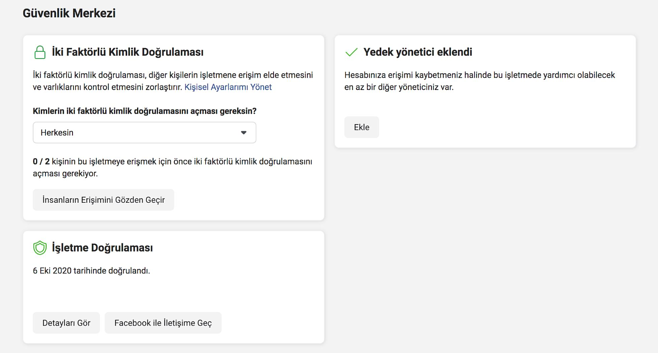
When you click See Details, you'll see Security Center. Here you need to add at least one more admin for your business. You should make sure that the admin you add and the extension in your email addresses (the part after @) are the same as the extension on your business's website.

- Change the Two-Factor Authentication feature to 'Everyone'.
- After you complete these settings, the Start Verification button at the bottom left should be activated. If you haven't created an app for your business before, you won't see this button at this stage. Follow these steps to create an app.
Select Apps from the menu on the left, and then press Add.

Select Create a New Application Code.

Select Manage Business Integrations, and then continue.
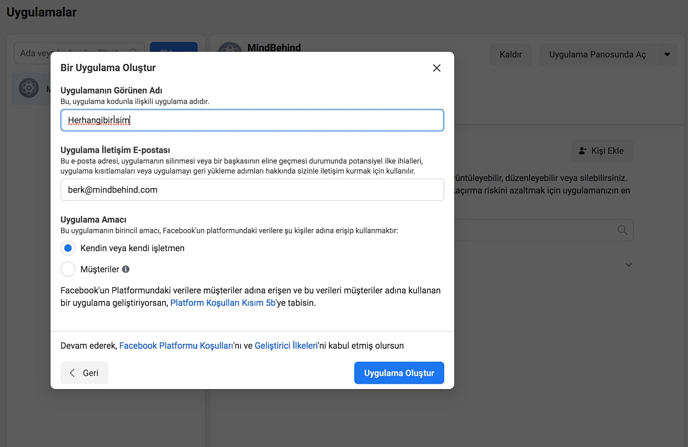
The name you give your app or other features of the app won't be important in the process of verifying the business.
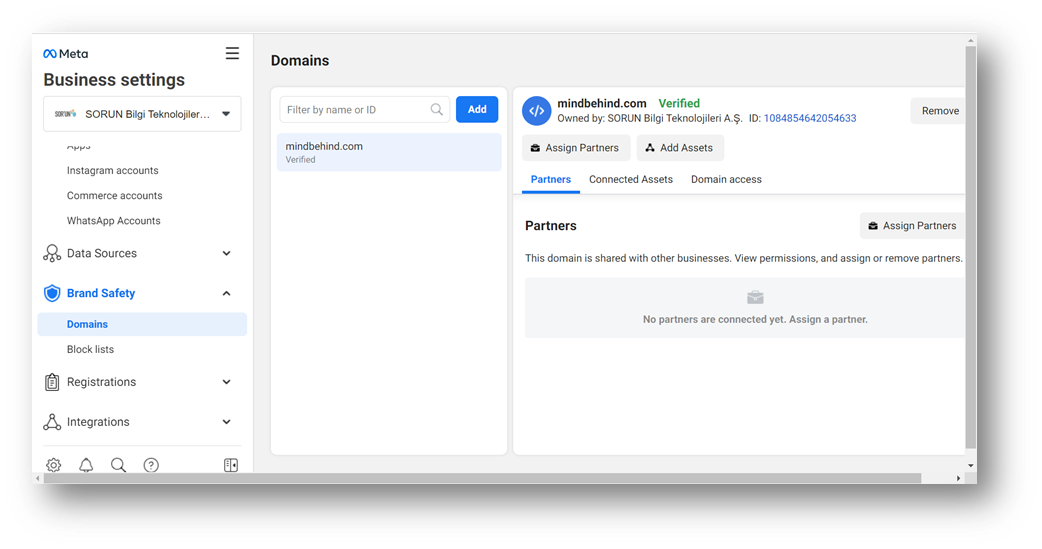
- For domain verification operations; click the "Brand Safety" button in the navigation menu on the left.


After completing these stages, use the navigation menu on the left to go back to the Business Information. Click See Details. Here, you will see the button needed to start verification. You can start verification by using this button. Here are the tips for verification:
- Tax Plate: The current tax plate must be installed here. The business title, address, communication, etc. information written on the tax plate should be exactly the same as the information entered into Facebook Business Manager (FBM) and the information on your business website . E.g. ABC SOFTWARE LTD. STI.
- Invoices: Current electricity, water, natural gas, etc. invoices/bills should be added here. We recommend that you include the invoice for the phone number in the contact information on your website. The trade title on these invoices must be exactly the same as the title on the tax plate. Additionally, if there is already an invoice for a payment to Facebook, it can also be uploaded.
- Website information: The website must be secure (https). The contact information used on the website should be added to the FBM in the exact same way. The domain name and the website must match the email address used for FBM process. If a different domain is to be used, it must be proven to be linked to your company. For example: mainbrand.com/sub-brand shown in "Our Brands" section, etc.
You will be notified by email when your business is verified. You can also view your business verified as follows:
Related Articles
How to set up Facebook Catalog for WhatsApp Business API
How to create Catalog? 1- Login to Business Manager of Facebook, select “Business Account info” and click to “Go to Business settings” 2- On the new page that opens, click the "Commerce Account" and then click the "Open on Commerce Manager" button. ...How to Use Commerce Manager
Prerequisites If your Facebook Business Page is a new page, please make sure it is verified (see How to Create a Facebook Business Manager (FBM)?). Set your page settings. Make sure that a minimum of 10/13 of page settings are completed. Go to “Meta ...Facebook Conversion API
Go to your Facebook Page’s Event Manager page Select “Connect Data Sources” Select “Offline” from opened pop-up and click to Connect Enter the pixel’s name which you want and click to Create Select “I don’t have a website” and click to Continue ...Instagram: Business Login Documentation
Business Login for Instagram Business Login for Instagram makes it easier for Instagram users who still need to configure their accounts for API access. In order to make their account access to meta APIs, Instagram users must first convert their ...Commerce Manager Limitations
Limitations For Commerce Manager 1- Overall Limitations 1.1- Missing Integration notification There must be an integration added to publish an assistant with the Commerce module. 1.2- Missing catalog notification There must be a catalog added to ...